

Bob Graham Round nutrition: a leg-by-leg fuelling plan
In this guide

 Written by James Frost, founder of Flaming Phoenix and the maker of Phoenix Bars. Updated November 2026.
Quick answer: most runners burn roughly 8,000 to 12,000 calories on a Bob Graham Round, so plan to eat about 200 to 400 calories an hour on the hill and take bigger feeds of 400 to 1,000 calories at the start and at the four road crossings, the largest at Wasdale before Leg 4. On the plan below that adds up to roughly 7,000 to 11,500 calories eaten across the round.
The Bob Graham Round is 66 miles, 42 peaks, and about 27,000 feet (8,200 metres) of ascent, completed in under 24 hours. Most BGR fuelling advice reads like generic ultra running nutrition with a Lake District postcode. The round's actual fuelling problem is more specific than total calories: five legs that differ in length, climb, terrain, and likely time of day, four support point handovers that can either rescue a flagging round or kill a good one, and one night section where most attempts unravel.
This guide is structured the way BGR aspirants actually plan: by leg, by support point, and by the night window. It assumes you have done the training and the recces. What it gives you is the fuelling plan to convert that preparation into a ratified round.
About this guide
Written for runners within twelve weeks of a BGR attempt. The framework covers the five legs, the four crewed handovers, and the night section that cuts across Leg 3 or Leg 4 depending on your start time. For the mechanics of running-specific intake that underpins all of this, see the Trail Running Nutrition guide and the UK Ultra Race Nutrition guide.
Written by James Frost, founder of Flaming Phoenix and the maker of Phoenix Bars, which come up in one section near the end. Last updated: November 2026.
The one constraint that defines BGR fuelling
Every calorie on a Bob Graham round comes through one of two channels: what you eat at the four road crossings where your support crew meets you, and what you carry on your back between them. Everything else is commentary.
Most rounds that fail nutritionally fail because the split between these two channels was wrong. Too much on-hill food means a heavy vest that slows your climbing and a gut that cannot cope with continuous intake. Too little on-hill food means you arrive at support points in calorie deficit, take too long to recover, and lose the minutes that compound into the wrong side of 24 hours.
Following the leg-by-leg plan below, the split works out at roughly a third of your calories at the start and the four road crossings (about 2,500 to 3,600) and two-thirds on the hill (about 4,500 to 7,900, eaten in bites from high calorie bars, gels and real food across roughly 17 to 21.5 hours of moving). You will not replace everything you burn, and you do not need to: the aim is to stay far enough ahead that you never run on empty.
The support point handover framework
A BGR support point is a road crossing where your ground crew has hot food ready, spare kit laid out, and a schedule telling them exactly how long you have to be in and out. The four crossings are Threlkeld (end of Leg 1), Dunmail Raise (end of Leg 2), Wasdale Head (end of Leg 3), and Honister Pass (end of Leg 4).
The handover is both the biggest calorie opportunity of the round and the biggest time risk. Stopped time at support points ranges from 2 minutes (the fast, practiced crew with a runner on form) to 25 minutes (the slow cup of tea and a sit-down that ends rounds). Every extra minute at a support point is a minute you cannot give back on the hill.
The workable handover pattern:
Eat first, kit second. The moment you arrive, a crew member puts warm food into your hand. Eat while you change shoes, add a layer, refill your pack. Real food works best at support points because the gut responds to variety after hours of bar-and-gel monotony. Bircher muesli, pizza slices, warm noodles, pastries, pasta with butter and cheese, and porridge are the formats that consistently go down. Our list of the best foods for ultra running is ordered by hour of the race, which helps when deciding what the crew brings to each crossing.
Drink early. Most runners are more dehydrated at support points than they realise. A warm drink first makes solid food easier to get down after hours of bars and gels.
Leave with something in your hand. You should always leave a support point with a bar, wrap, or pastry already opened and in your palm for the first climb of the next leg. The climb out of every BGR support point is steep enough that eating on the first ten minutes feels wrong, which is when your body needs calories to stay ahead of the next leg.
Plan for the 90-second version. Every support point needs a designated two-minute drill: shoes on a towel, warm food in a thermos or foil wrap, pack contents laid out. If the round is on pace, you execute the fast version. Having a fast version available on every support stop is what separates 23:45 finishes from 24:15 finishes.
How much should you eat on each leg?
This table pulls together the feeds and hourly targets from the leg plans below, using the times a sub-24 schedule typically allows. Every figure is approximate, and your own schedule and body weight will move them.
| Leg | Peaks | Typical time | Feed before the leg | Eat per hour on the leg | Approx. eaten on the leg |
|---|---|---|---|---|---|
| 1: Keswick to Threlkeld | 3 | 3 to 3.5 hours | 400 to 600 kcal (pre-start meal) | 200 to 300 kcal | 600 to 1,050 kcal |
| 2: Threlkeld to Dunmail Raise | 12 | 3.5 to 4.5 hours | 400 to 500 kcal (Threlkeld) | 250 to 350 kcal | 900 to 1,600 kcal |
| 3: Dunmail Raise to Wasdale Head | 15 | 5 to 6.5 hours | 600 to 900 kcal (Dunmail Raise) | 300 to 400 kcal | 1,500 to 2,600 kcal |
| 4: Wasdale Head to Honister Pass | 9 | 3.5 to 4.5 hours | 700 to 1,000 kcal (Wasdale Head) | 300 to 400 kcal | 1,050 to 1,800 kcal |
| 5: Honister Pass to Keswick | 3 | 2 to 2.5 hours | 400 to 600 kcal (Honister) | 250 to 350 kcal | 500 to 900 kcal |
| Whole round | 42 | 17 to 21.5 hours moving | 2,500 to 3,600 kcal | 200 to 400 kcal | 4,500 to 7,900 kcal |
Leg 1: Keswick to Threlkeld (3 peaks, approximately 3 to 3.5 hours)
Skiddaw then Blencathra, via Great Calva. The opening leg is the easiest place on the round to feel like things are going brilliantly, and the easiest place to poison the rest of the round through over-fuelling, over-pacing, or both.
Intake target: roughly 600 to 1,050 calories on the leg, plus the pre-start meal.
Fuelling plan: Eat a substantial meal before start (400 to 600 calories, something sitting comfortably in the gut: porridge, banana on toast with peanut butter). On the leg, 200 to 300 calories per hour. Bar pieces every 30 minutes, a gel on the Blencathra climb if you are cutting it fine on sugar.
The Leg 1 mistake: Eating too much on a leg where the body is still fresh and fuelled from the pre-start meal. A packed gut on the Blencathra descent causes problems that persist all the way to Dunmail. Go lighter than you think on Leg 1.
Leg 2: Threlkeld to Dunmail Raise (12 peaks, approximately 3.5 to 4.5 hours)
Clough Head, the Dodds, Helvellyn, Dollywaggon, Seat Sandal. A long, high leg with limited shelter. Weather can change significantly between Threlkeld and Dunmail.
Intake target: roughly 900 to 1,600 calories on the leg, plus the Threlkeld feed.
Fuelling plan: Leave Threlkeld with 400 to 500 calories consumed in the first 15 minutes of stopped time. On the leg, 250 to 350 calories per hour. Leg 2 is the one for bar pieces, because the ridgeline is mostly runnable and you get a chance to eat every 10 to 15 minutes. Our guide to the best energy bars for ultra running compares the main options.
The Leg 2 mistake: Letting the spread-out terrain and the social buzz of pacers distract you from eating on a schedule. Set a 30 minute alarm on your watch. The effort is not high enough to suppress appetite, which means there is no biological excuse for falling behind on intake.
Leg 3: Dunmail Raise to Wasdale Head (15 peaks, approximately 5 to 6.5 hours)
The crux of the round. The Langdales and Scafell range. Technical ground, multiple route choices, the Broad Stand or Foxes Tarn decision at Scafell. For most schedules, this is also the night leg or the leg that starts in the dark.
Intake target: roughly 1,500 to 2,600 calories on the leg, plus the Dunmail feed.
Fuelling plan: A significant eat at Dunmail (600 to 900 calories in 10 to 15 minutes). Warm, soft food works best because the leg ahead is long and rough and a heavy gut is a problem. On the leg, 300 to 400 calories per hour. This is where the night section problem bites for most schedules; see the next section.
The Leg 3 mistake: Under-eating on the approach to Scafell because the technical ground demands attention. The focus required on the Scafell massif means most runners stop eating for 45 to 60 minutes, which is exactly when they need calories most. Break small pieces into a wrist pouch or jacket chest pocket before the technical ground starts, so you can eat without breaking stride or focus.
Leg 4: Wasdale Head to Honister Pass (9 peaks, approximately 3.5 to 4.5 hours)
Yewbarrow, Red Pike, Steeple, Pillar, Kirk Fell, Great Gable, Green Gable, Brandreth, Grey Knotts. Brutal on tired legs. The Yewbarrow climb at the start of Leg 4 is where many rounds discover whether they are ratifiable.
Intake target: roughly 1,050 to 1,800 calories on the leg, plus the Wasdale feed.
Fuelling plan: Wasdale Head is the biggest support point feed of the round. Target 700 to 1,000 calories in 15 minutes. Real hot food. Pizza, pasta, rice, soup with bread, porridge. The Yewbarrow climb benefits enormously from leaving Wasdale already 80 percent topped up. On the leg, 300 to 400 calories per hour, but expect appetite to be the most suppressed it will be all round. Switch to liquid calories (gels, high-calorie drinks, dissolved carb powder) if solid food stops going down.
The Leg 4 mistake: Letting the Yewbarrow pain convince you that you cannot eat. From here, staying on schedule is a matter of discipline. You can eat. You will not want to. Eat anyway.
Leg 5: Honister to Keswick (3 peaks, approximately 2 to 2.5 hours)
Dale Head, Hindscarth, Robinson, then the long descent and road run back to Moot Hall. The easy leg on paper. Often punishing in practice because the body is registering the total cumulative load of the round.
Intake target: roughly 500 to 900 calories on the leg, plus the Honister feed.
Fuelling plan: Short, fast Honister stop. 400 to 600 calories. Something warm and easy: noodles, soup, porridge. On the leg, 250 to 350 calories per hour in steady bar pieces for the three summits, then the road descent is where you can pick intake back up if you have been light.
The Leg 5 mistake: Assuming it is in the bag and stopping eating or drinking. This is how runners arrive at Moot Hall hyponatraemic, hypoglycaemic, or mildly hypothermic and spend the celebration in the recovery position instead of a pub. The Robinson to Keswick road run is longer than memory suggests. Stay on your intake schedule until the Moot Hall steps.
The night section problem
Most BGR schedules put Leg 3 or Leg 4 substantially in the dark. The night window between roughly 11pm and 4am is where nutrition discipline collapses across the entire ultra-endurance space, and BGR is not an exception.
What happens: your body clock is at its low point, core temperature falls, alertness drops and appetite usually goes with it, across exactly the hours when you need intake to stay ahead of the Leg 3 or Leg 4 workload. Runners describe losing 30 to 60 minutes between 2am and 4am with no single obvious cause. It is almost always a quiet fuel-and-temperature collapse rather than a dramatic event.
The fixes that work:
Pre-plan the night calories in bite-sized portions. Break bars into 3 or 4 pieces at Dunmail so the night intake is mechanical. Warm food in a thermos (noodles, soup) becomes disproportionately effective in the 2am to 4am window.
Eat before you feel cold. Once core temperature drops, appetite is gone for the next hour. Eat pre-emptively in the second half of any leg that crosses 1am.
Keep caffeine small and late. A single 100mg caffeine tablet around 2am to 3am restores focus for the technical ground without creating a crash at sunrise. Save it.
Pack one safety calorie. Every BGR aspirant should have one 500+ calorie reserve on their body at all times. A dense bar or similar in the belt, untouched except for the night section or a blown support point transfer.
For the broader framework on eating when appetite has left the building, see the low appetite guide.
What to put in your support crew's hands
Your ground crew's job at each support point is speed and calorie density, not variety. A good BGR support kit per road crossing includes:
One hot food option. Decided in advance with the runner. Pizza at Wasdale is the classic because a few slices give you several hundred calories quickly. Noodles at Honister, bircher at Threlkeld, pastries at Dunmail. The runner knows what is coming before they arrive.
One warm drink. Tea, coffee, hot squash, or a warm carb drink. Warm liquid is welcome after hours of bars and gels.
Three or four ready-to-go pocket items. Bars, gels, wraps with filling, jam sandwiches, whatever has worked in training. The runner leaves with one in hand and two or three in pockets.
One backup calorie source in case of stomach rejection. Usually a liquid option: a milkshake, a drinkable yoghurt, or a carb powder in water. If the main hot food option will not go down, the backup prevents a missed calorie opportunity.
Zero new food. Nothing goes into a crew drop bag that has not been tested in training. A BGR is not the moment to discover a new flavour.
Where Phoenix Bars fit on a BGR
I make Phoenix Bars, and they fit two BGR jobs. On the hill, broken into three or four pieces in a vest pocket, each bar gives you up to 557 calories in a compact, 120g bar, roughly 4.6 calories per gram, and they hold their texture in cold and heat, so the pieces you break up at Dunmail are still easy to eat in the small hours.
At support points, they mix with water to make porridge. A single bar plus water makes a meal of up to 557 calories that can be eaten from a mug with one hand while the crew changes your socks, which is useful at Wasdale if the appetite for pizza or pasta suddenly goes. The method is in how to use Phoenix Bars.
A practical provisioning rule: 5 to 7 bars on the hill across the round (one per leg plus a night reserve), plus 2 to 3 for porridge at the support points, so 7 to 10 bars in total. Our cycling and bikepacking guide covers portioning bars into pockets so you can eat on the move.
They also suit an early pre-start breakfast, when the crew is still asleep and you want something calorie-dense and easy to eat that needs no cooking.
Related guides
- Trail Running Nutrition: the framework for running-specific intake mechanics
- UK Ultra Race Nutrition: multi-day and long single-stage ultra framework
- Ultra-Endurance and Expedition Nutrition Guide: eat-by-the-clock principles for sustained efforts
- Calorie-Dense Foods: the full framework on calories per gram
- Low Appetite and Difficulty Eating Enough Calories: for the Leg 4 and night section appetite drop
- How to Use Phoenix Bars: porridge method for support point use
- Dragon's Back Race food
Frequently asked questions
How many calories does the Bob Graham Round burn? Most runners burn roughly 8,000 to 12,000 calories across a 20 to 24 hour round, depending on body weight, pace, and weather. Heavier runners on harder schedules sit at the upper end. The round's defining feature is not total burn but sustained burn across a window that includes a night section.
How much should I eat per hour on the BGR? While moving, aim for 200 to 400 calories per hour. Most sub-24 finishers land somewhere in the 250 to 350 range across the full round.
What do the best BGR runners eat at support points? Real, warm, calorie-dense food. Pizza at Wasdale is iconic. Other options include bircher muesli, pasta with butter and cheese, noodles, pastries, and porridge. The common features are hot, easy to chew, and delivered fast.
How do I fuel the night section? Plan calories in small, pre-broken pieces before the night starts. Eat pre-emptively before you feel cold. Warm food in a thermos at support points. One small caffeine dose around 2am to 3am if you normally tolerate caffeine.
What if my stomach stops working on Leg 4? Switch to liquid calories. Gels, carb drinks, high-calorie shakes, or a runny porridge. The gut will usually tolerate liquid when it will not tolerate solid. Most runners who stomach-fail on Leg 4 can still get calories in through drinks.
Should I practice my nutrition on recces? Yes. Fuelling is not something to debut on round day. Replicate your planned intake exactly on at least one full Leg 3 recce and one back-to-back Legs 4-5 recce, including support point simulation if possible.
Where are the support points on the Bob Graham Round? At the four road crossings: Threlkeld at the end of Leg 1, Dunmail Raise at the end of Leg 2, Wasdale Head at the end of Leg 3 and Honister Pass at the end of Leg 4. Your crew meets you there with food, drink and spare kit, and there is nothing in between, so everything else you eat is carried.
Does a Bob Graham Round need witnesses? Yes, if you want it ratified by the Bob Graham 24 Hour Club. Each summit visit has to be witnessed by a companion and the times recorded, and since 2020 rounds using paid or commercial guides are not accepted. In practice that means pacers on every leg, who can also carry some of your food.
Is the Bob Graham Round harder to fuel than the Lakeland 100? Different problem. The Lakeland 100 is longer but has more frequent aid stations. The BGR is shorter but has only four crewed support points and requires the sub-24 discipline. BGR fuelling is higher-stakes per minute stopped.
Questions about fuelling for your round
If you are preparing for a BGR attempt and want to talk through a specific leg or support point plan, drop me a line. I am always happy to help.
James Frost Founder, Flaming Phoenix jfrost@flaming-phoenix.co.uk 07990 519422
Sources: Bob Graham 24 Hour Club, round details and ratification rules; Phoenix Bars nutrition values from our own pack labels.
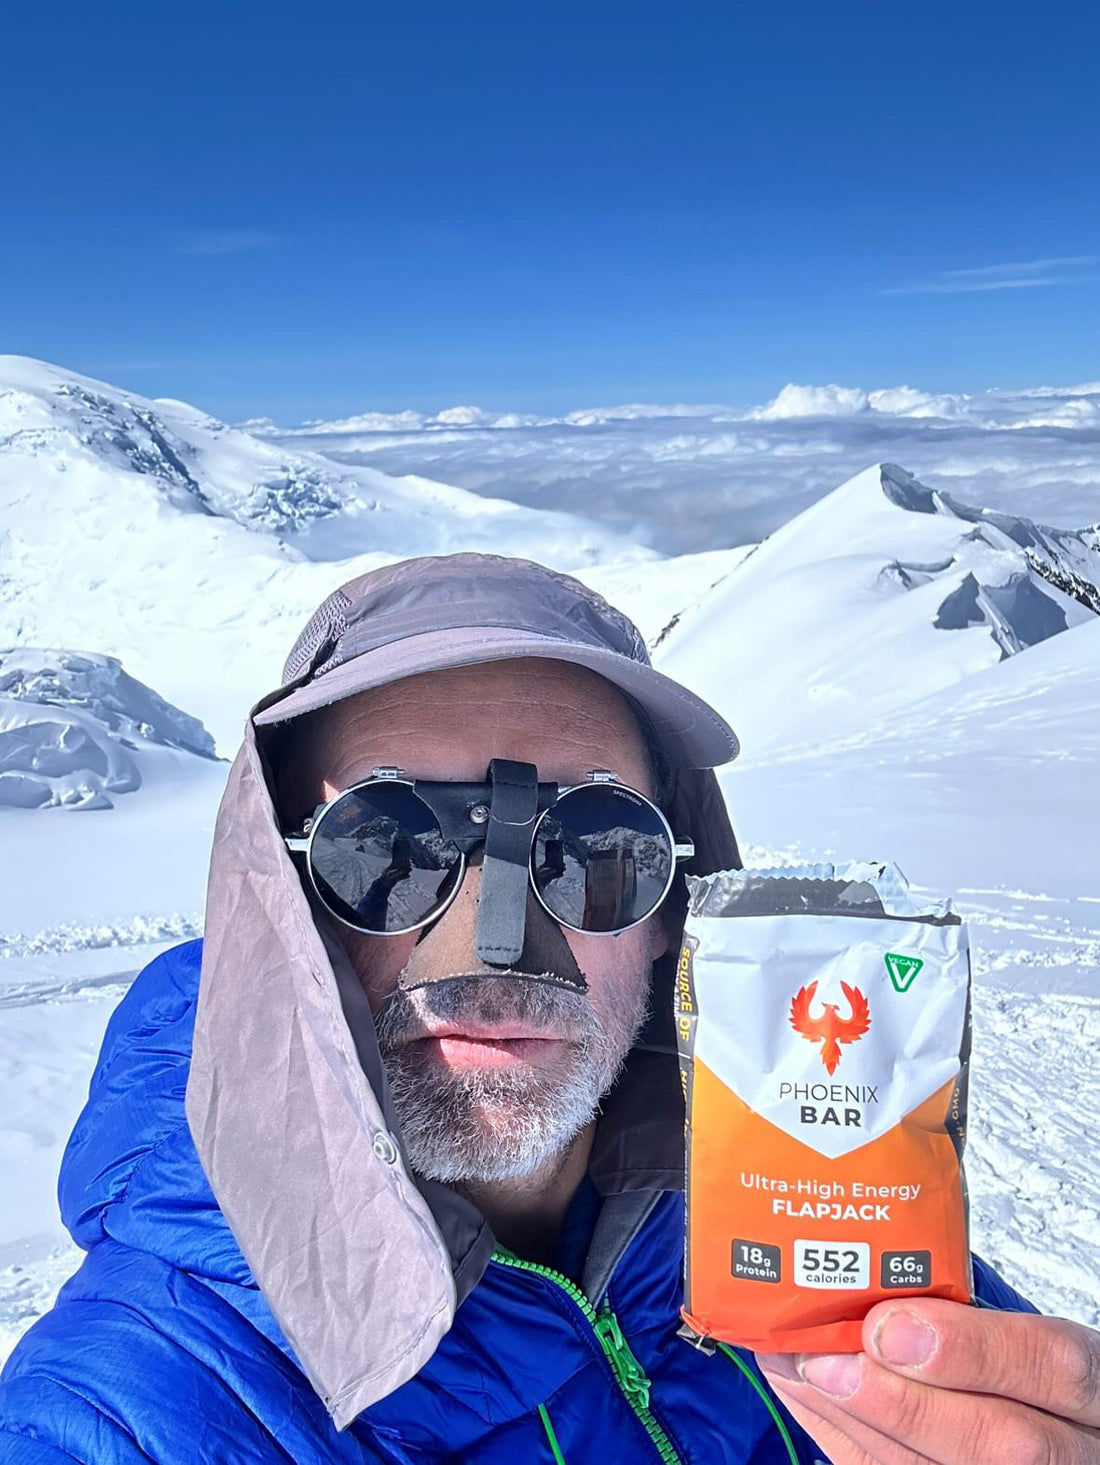
Big calories. Small bar.
Up to 557 calories in a compact, lightweight bar of only 120g, with up to 66g of carbs and 19g of protein. Eat it whole, break it into pieces over a few hours, or mix it with water or milk for porridge.
Easy to eat, easy to digest and not sickly sweet. Customers have eaten them at -45°C and through the heat of the Marathon des Sables, and they keep for up to 2 years, so they work on a mountain, on a night shift, or at home on days when eating enough feels hard.
- 557 calories in only 120g (529 to 557 by flavour)
- 4.6 calories per gram
- 66g carbs per bar (up to)
- 19g protein per bar (up to)
